 ychara
 The Ultimate Star Savior Journey Guide: Forging Perfect Stella Archives
Journey mode is a 45-turn training simulator where you manage stats, bonds, coins, and stamina to forge powerful Stella Archives (chipsets). The strongest runs are decided by preparation, early Super Sensory setups, and smart Potential spending at the end.
Phase 0: Preparation and entry requirements

Before starting a run, make sure your build can actually survive the early combat checks. Difficulty choice, Resonance, parent chipsets, and Arcana setup decide whether the run snowballs or collapses before turn 15.
Difficulty, Auto, and Resonance requirements
- Easy (max 500 per stat): Auto is fine for farming your first basic chipsets.
- Normal (max 750 per stat): Unlocks after clearing Sector 8. Aim for Resonance Level 4 or 5 before committing to consistent Normal clears.
- Hard (max 1200+ per stat): Unlocks after clearing Sector 18. Plan around Resonance Level 8 or 9; the bonus starting stats matter for surviving the early trials.
-
From Normal onward, manual play is mandatory. Auto runs waste too many training turns and Potential Points.

The Stellar Archive (parent selection)
- Your lead inherits stats from two existing chipsets. Strong parents can add massive base stats and make the entire run smoother.
- Pro tip: Favor parents with strong raw stat rolls such as +25 or +30 bonuses, not just attractive passives. High starting stats let you focus on training instead of patching weak early turns.
- If your lead is a healer or tank, make sure the inherited setup still gives you enough damage for combat trials. Runs can fail simply because the team cannot kill enemies fast enough.
Setting up Arcana (cards)
Cards shape which stats you can raise efficiently during training.
- SSR over SR: Use SSR cards even at zero limit breaks. A level 35 SSR typically beats a maxed level 45 SR on base stats. Only SSRs have Unique Effects and reliably strong Potentials at the end of their event chains.
- Recommended deck splits: Attackers do well with 2 Strength, 2 Focus, 1 flex (HP or Accuracy). Tanks can run 2 HP, 2 Protection, 1 Defense.
- Focus your build: Push one main plan hard instead of spreading stats across every training type.
High-value Arcana examples
| Card | Notes |
|---|---|
 | Construct Bomb Strong on attackers; third event Potential offers a large Crit Rate bonus (about 18%). |
 | Elastic Acceleration ATK +6% and self Crit Rate +6%. |
 | Sharp Assault Grants +8 Speed (Initiative) at the end; going first matters a lot in turn-based combat. |
 | Life Stigma Strong all-rounder for tanks and healers (Max HP% and Speed). |
Phase 1: Early training (Turns 1-12)
The opening turns are mostly about bond building, not pure stat greed. A strong early setup makes the rest of the run dramatically easier.
The portrait strategy
- In the first 12 turns, prioritize the training node with the most character portraits, even if the stat is not your main target yet.
- Your goal is to get at least 1 to 2 Arcana bond bars into the 80%+ range before day 12 so Super Sensory procs start appearing consistently.
- Try to reach around 125 Defense and 75 Protection before the first camp so random events and early combat checks stay manageable.
Super Sensory Training (yellow highlight)

Under each Arcana portrait there is a bond bar. Early on, choose trainings that stack portraits so those bars rise as fast as possible.
- Once a bond bar is roughly 80% and the Arcana lines up with its preferred training stat, that action can glow yellow.
- That yellow state is Super Sensory Training, and it is the main stat spike mechanic for great runs.

Phase 2: The training loop and energy discipline
Once the run is stabilized, every turn should either push stats, improve bonds, or preserve stamina efficiently. Bad rests are one of the biggest hidden losses in Journey.
The five training types
| Training | Stat focus | Energy |
|---|---|---|
| Strength | Strength and Endurance | Consumes Energy |
| Health | Health and Endurance | Consumes Energy |
| Endurance | Endurance and Health | Consumes Energy |
| Focus | Focus and Strength | Restores Energy |
| Protection | Protection and Focus | Restores Energy |
Tip: Focus and Protection are your bridge turns. When Energy is getting low, they let you keep progressing without immediately giving up a full turn to rest.
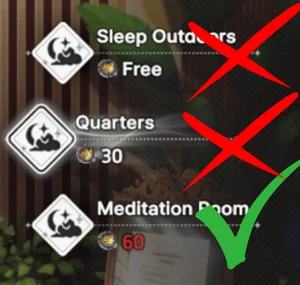
The 50% resting rule
- Mood: Keep it at Best for full training yield.
- Failure rate: Low Energy raises failure chance. As a rule, avoid gambling above 10% unless it is the last meaningful turn.
- At roughly 50% Energy: do not panic-rest. Use Focus or Protection first to recover some Energy while still gaining stats.
- Quarters: A strong mid-cost option when you want to restore mood to Best and recover moderate Energy.
- Meditation Room: Best reserved for very low Energy or when you need to clear a bad status. It is powerful, but spending coins too casually can starve your shop timing.
Phase 3: Quests, shop, hunts, and camps
Quest value
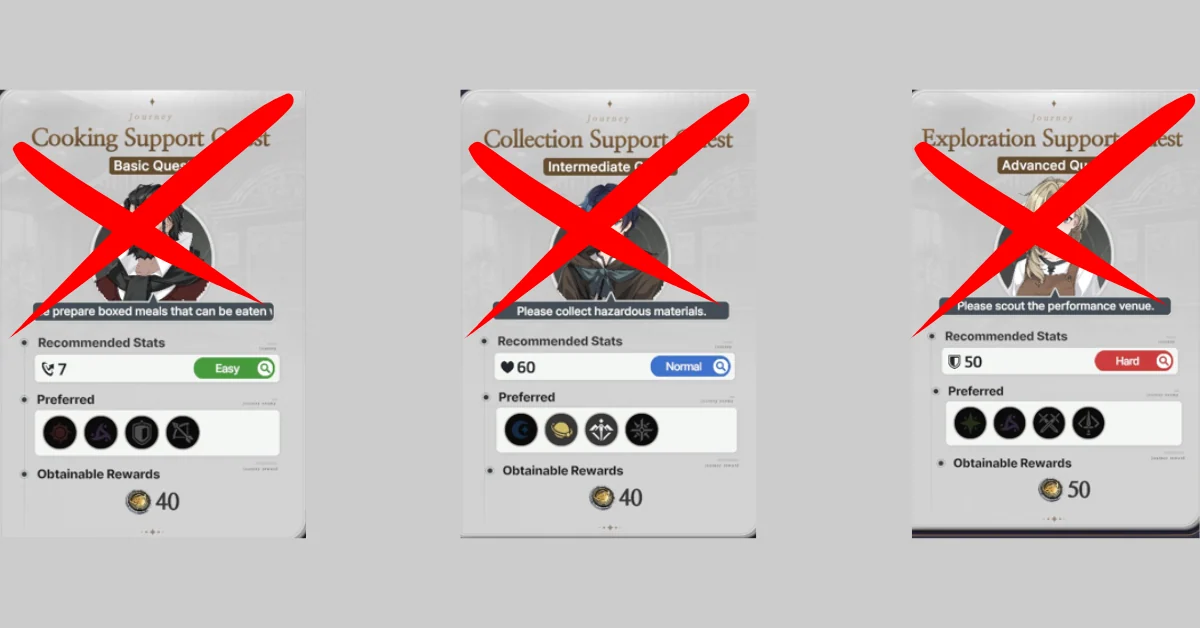
- Skip Hard quests.
- Take Easy or Normal quests only if they pay about 60–80 Ancient Coins or more; below that, training is usually better.
Hunt quests
Hunts appear one turn before major trials. They grant guaranteed Potentials alongside stats:
| Hunt | Potential theme |
|---|---|
| First Hunt | Defense |
| Second Hunt | Resistance / Protection |
| Third Hunt | Crit Rate / Attack (prioritize for DPS) |
Trade shop
The shop opens before each trial. On your first shop visit of the run, items are heavily discounted, so that is the best moment to convert saved coins into long-term power.
- Priority buys: direct stat items, Secret Training Manuals, stamina food, and premium run-warping options such as The Scales, The Katana, and the Mysterious Key when they appear.

Strength 
Focus 
Endurance 
Health 
Pasta meal 
Watermelon - Usually skip: lottery tickets, perfume-style luxury buys, and most Portable Fan purchases unless a specific run really needs the safety. These are more RNG-dependent and less efficient than raw stats or training value.

Portable Fan 
Lottery tickets
Training camp (mid-run)
Roughly halfway through you choose a camp. Check your main stat first instead of picking blindly:
- Summer camp (Flora / beach): Favors Strength and Accuracy. Take it mainly if your main Strength stat is still below about 500 and you need to keep pushing damage.
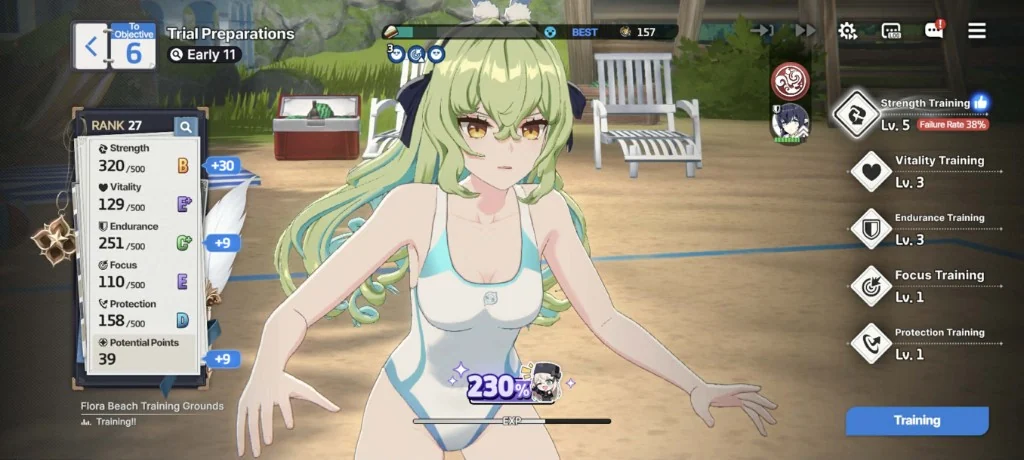
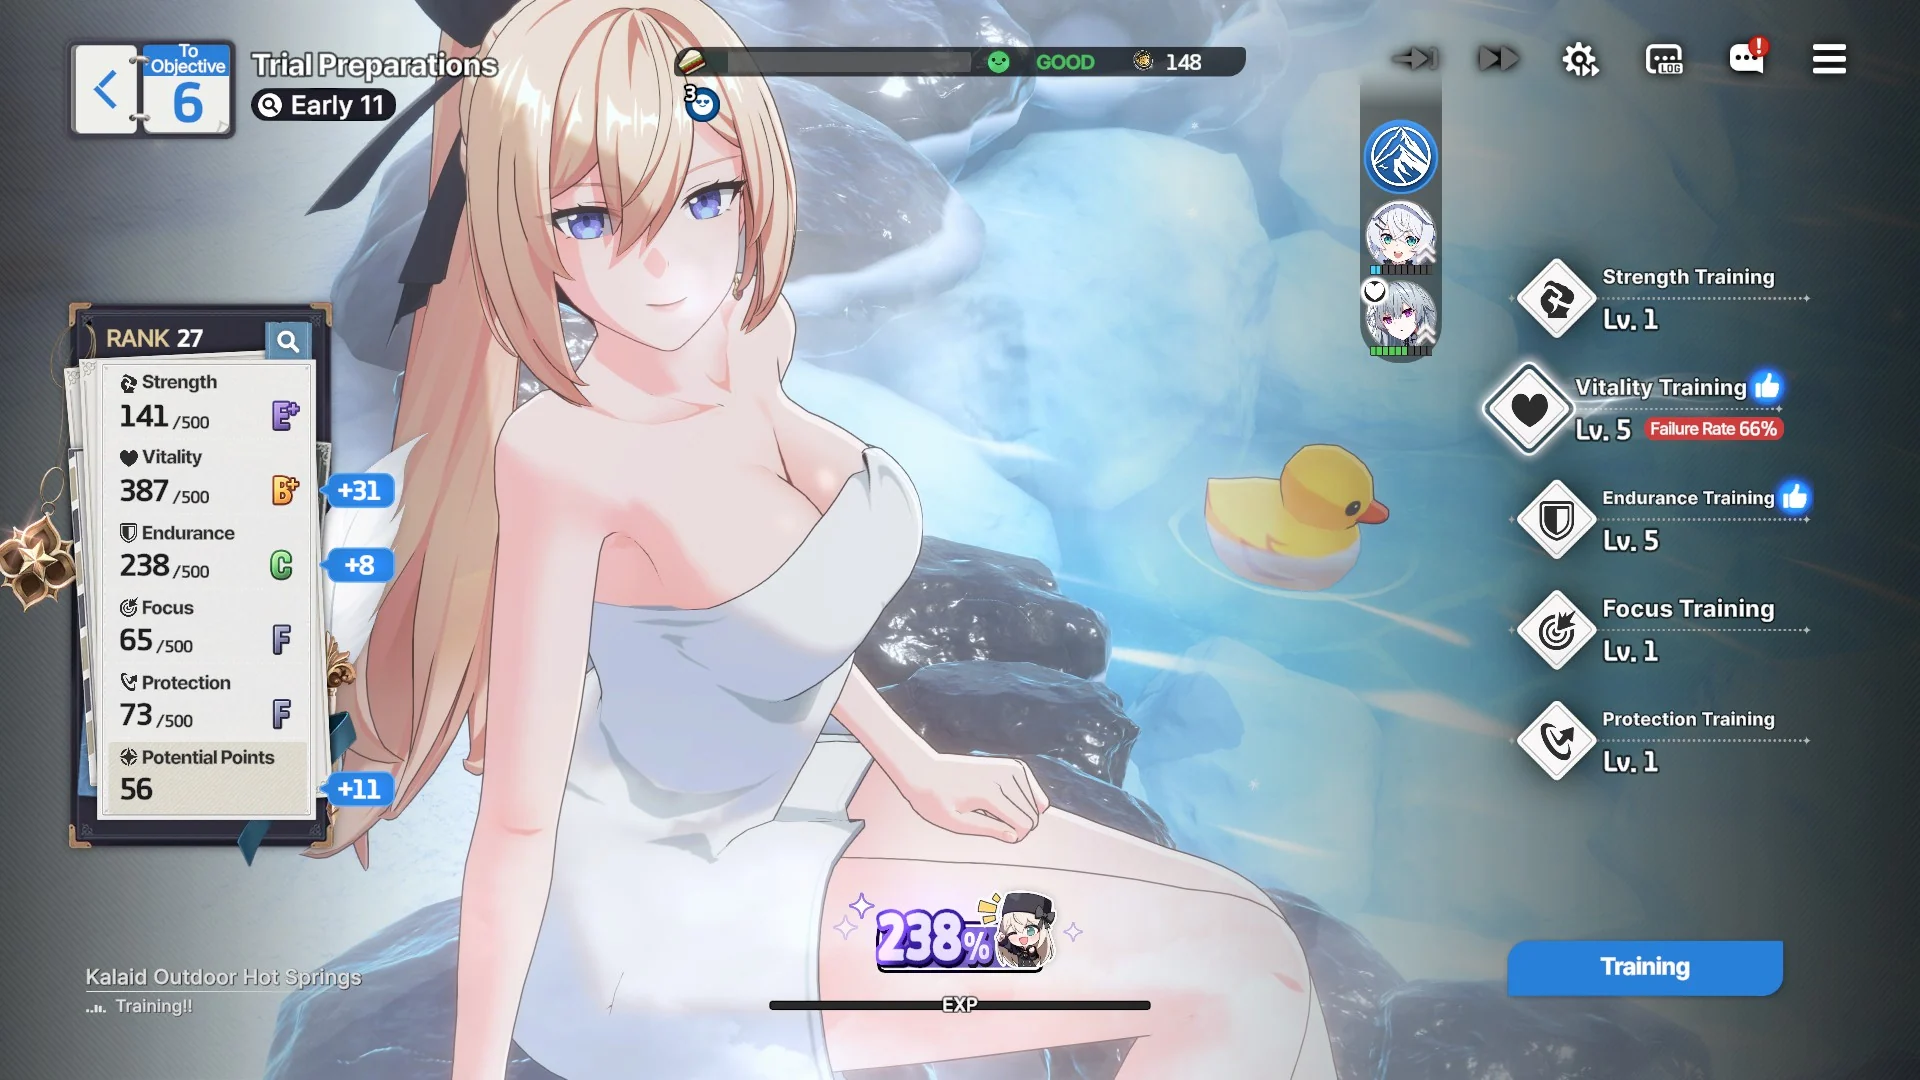
- Winter camp (Kate / hot springs): Favors HP and Defense. Choose it when Strength is already near 500, or when the build now gets more value from bulk than from extra offense.
Phase 4: Potential allocation on the end screen
At the end you receive Potential Points from overall performance. This screen decides whether the finished chipset is merely decent or genuinely top tier.

- Do not rely on Auto-Learn. Manual spending is much better.
- Do not buy Potentials during trials from the Trials menu if you can wait. Discounts and better information usually make the end screen more efficient.
Purchase priority hierarchy
- Unique Stigmata Potentials
- Speed (Initiative)
- Class-specific skills that actually match your unit
- Percentage stats such as Crit Rate, Attack %, or Max HP %
- Flat stats only with leftover points
Double-check class restrictions before buying niche passives. Attack-only or support-only effects can waste points if they do not match the final user of the chipset.
Quick checklist
- Normal and Hard are manual modes; bring enough Resonance before forcing them.
- Use strong parent chipsets so your run starts with real stats instead of playing catch-up.
- In the first 12 turns, chase the node with the most portraits to unlock early Super Sensory.
- Use Focus and Protection as bridge turns before spending a full rest.
- Spend hard on the first discounted shop, and do not waste coins on low-value RNG items.
- Buy Unique Potentials, Speed, and strong % stats before flat leftovers.
For event-specific choices, use the Star Savior Arcana Database to check outcomes when you need exact rewards.
More guides

Character Development

Comprehensive Beginner Guide
